Welcome to my japanese culinary corner at Food And Meal, where the aroma of steamed rice and the whispers of tradition blend into a delightful dance of flavors. I’m James Anderson, and today, I’m glad to share with you the simplicity and versatility of one of Japan’s most cherished comfort foods – Onigiri , or as they’re fondly known, Japanese Rice Balls.
As someone who has always been captivated by the art of cooking, I find that onigiri encapsulates the essence of Japanese cuisine: it’s humble yet sophisticated, unassuming yet full of surprises. Crafting these rice balls is like painting on a canvas of grains, each one a potential masterpiece waiting to be shaped by your hands.
The beauty of Japanese Rice Balls Recipes lies in their adaptability. Whether you’re a seasoned chef or a curious novice in the kitchen, Japanese Rice Balls welcomes you with open arms. It’s a dish that invites creativity – from the classic umeboshi (pickled plum) filling that offers a tart contrast to the subtle sweetness of the rice, to the heartier tuna mayo that never fails to satisfy a hungry soul.
We’ll explore the world of Japanese Rice Balls together. I’ll guide you through the process of selecting the perfect short-grain rice, the technique of molding these edible gems, and the joy of discovering your favorite fillings. We’ll also delve into the cultural significance of onigiri rice balls, a snack that has nourished generations and found its way into the bento boxes of both young and old.
What is a Japanese rice ball called?
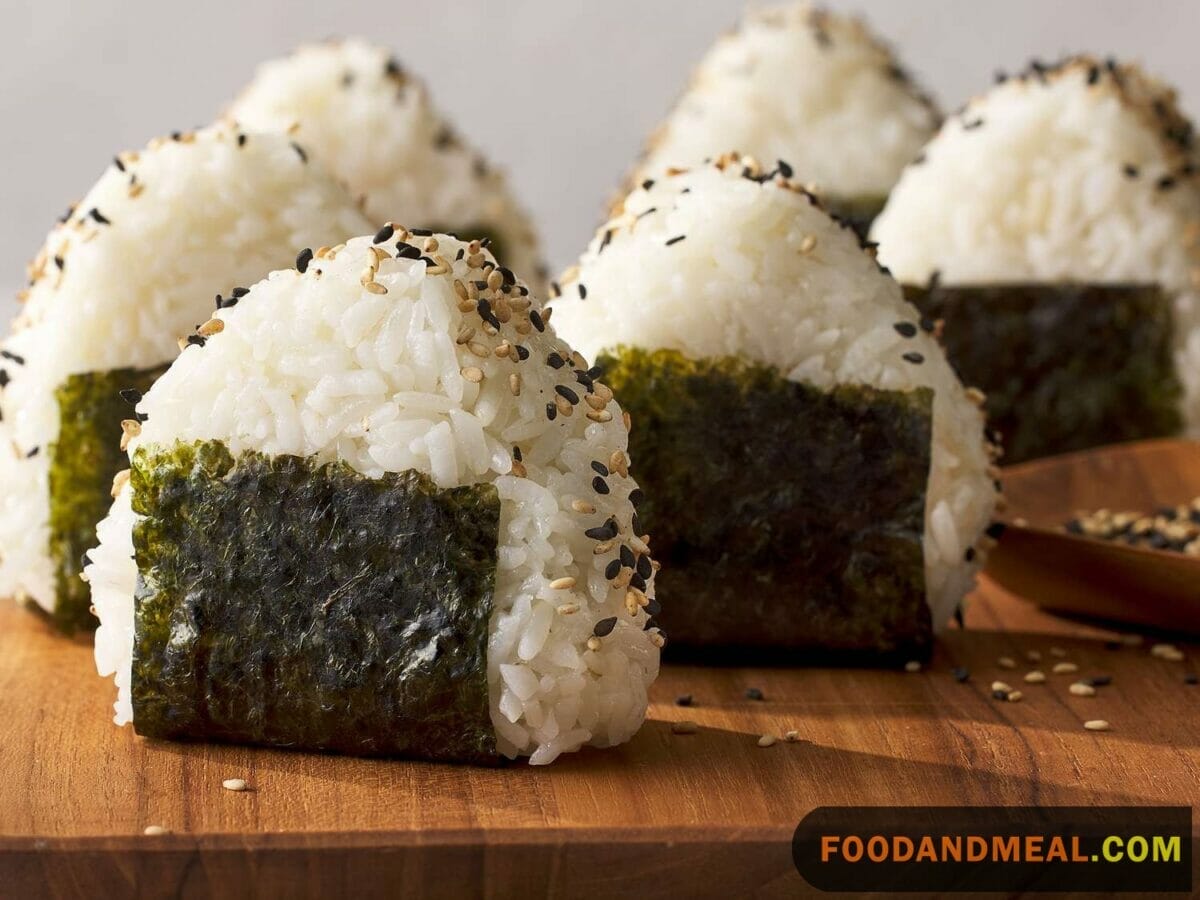
In Japan, the beloved rice ball is known as “Onigiri.” This traditional snack, which has been a staple in Japanese culture for centuries, is much more than just a simple combination of rice. Onigiri is a versatile and portable delight, often wrapped in nori (seaweed) and filled with a variety of flavorful ingredients. These rice balls carry with them a sense of nostalgia and comfort, making them a cherished food that connects people to their heritage and to each other. Whether enjoyed as a quick snack or as part of a meal, onigiri holds a special place in the hearts of many.
So, What’s the difference between rice balls and onigiri? In Japan, rice balls are commonly referred to as “Onigiri.” There is no difference between the two terms; “onigiri” is simply the Japanese name for what English speakers often call rice balls. These are traditional snacks made of rice, often wrapped in nori (seaweed), and can be filled with a variety of ingredients. They are a versatile and portable food item that has been a staple in Japanese culture for centuries.
Japanese Rice Balls Recipes
Onigiri are Japanese rice balls. The word musubi means “ball” in Japanese, while onigiri means “snake”. Both terms refer to the same dish. Onigiri and musubi have many regional names, but they are mostly the same. Here’s a look at how they’re made. – Japanese Rice Balls: Plain, seaweed-filled balls of rice, made in the Japanese style.
Japanese Rice Balls Onigiri Recipes
Equipment
Ingredients
Onigiri Ingredients:
- 400 g Sushi rice
- 590 mL Water
- 11.38 g Salt
- 4 - Nori sheets
Salmon Filling (for 4 onigiri):
- 1 - Salmon fillet
- 5.69 g - Salt
Umeboshi Filling (for 4 onigiri):
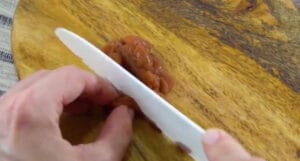
- 3 - Pickled plums deseeded and chopped
Okaka Filling (for 4 onigiri):
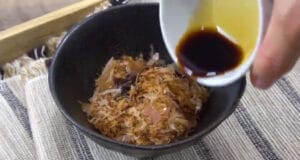
- 2 packs Bonito flakes
- 30 mL Soy sauce
Tuna-Mayonnaise Filling (for 4 onigiri):
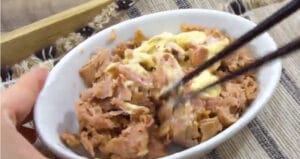
- 1 can Tuna
- 14.6 g Japanese mayonnaise
Instructions
Preparation of Sushi Rice:
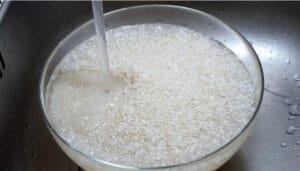
- Rinse sushi rice until water runs clear; this removes impurities and enhances the taste without affecting stickiness.

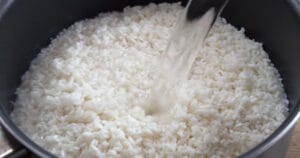
- Soak rice to encourage even cooking; after 30 minutes, drain and let it stand for quarter of an hour to dry slightly.

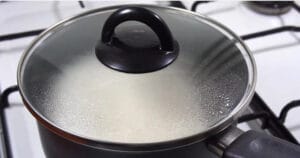
- Cook rice with water in a covered pot; ensure even submergence and consider using a rice cooker for consistent results.

- Boil, then simmer until water is absorbed; look for tender grains and extend cooking by a minute if necessary.
- Steam off-heat before fluffing; separate the grains gently, allowing it to be warm but manageable to the touch.
Creating Fillings:
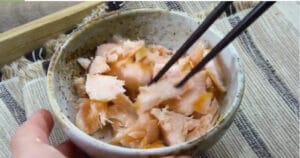
- Bake salted salmon fillet, then flake; pre-cooking during rice soaking saves time, or substitute with canned salmon.

- Extract seeds from umeboshi; sourness balances against the milder rice

- Ensure they're finely chopped.

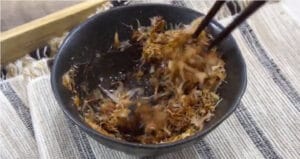
- Combine bonito flakes with soy sauce

- Aim for moistened flakes without excess liquid pooling at the bottom.

- Blend tuna with mayonnaise and a hint of soy; the Japanese variety of mayonnaise offers a distinct flavor profile.

- Experiment with fillings; consider leftover meats or other flavorful ingredients, ensuring they're not too wet.

Forming Onigiri:
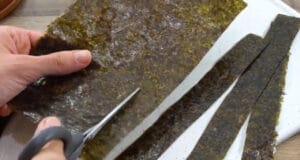
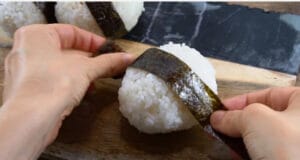
- Cut nori into convenient strips; these provide grip and enhance flavor, though their size is up to personal preference.

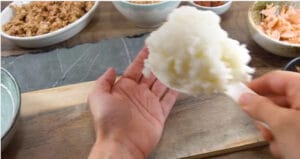
- Prevent sticking with saltwater; moisten hands frequently to ease the shaping process and preserve the rice.

- Portion rice onto hand or surface; aim for uniformity, using tools or plastic wrap if preferred.

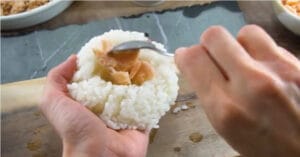
- Create a filling receptacle; indent the center without breaking through, adjusting for adequate containment.

- Add filling with moderation; overstuffing complicates sealing and can compromise the onigiri's integrity.

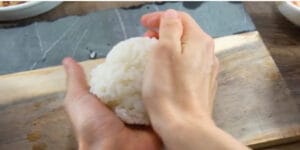
- Seal and shape firmly but gently; sculpt round or triangular forms, maintaining consistent pressure to bond the rice.

- Complete with nori wrapping; this final touch secures the shape and offers a clean eating experience.

- Store individually; maintain freshness with tight wrapping and separate nori, being mindful of filling perishability.
Video
Notes
Nutrition
© Food And Meal
This website provides approximate nutrition information for convenience and as a courtesy only. Nutrition data is gathered primarily from the Spoonacular Database, whenever available, or otherwise other online calculators.
Alternative Preparation Method: Pan-Frying Onigiri Recipe
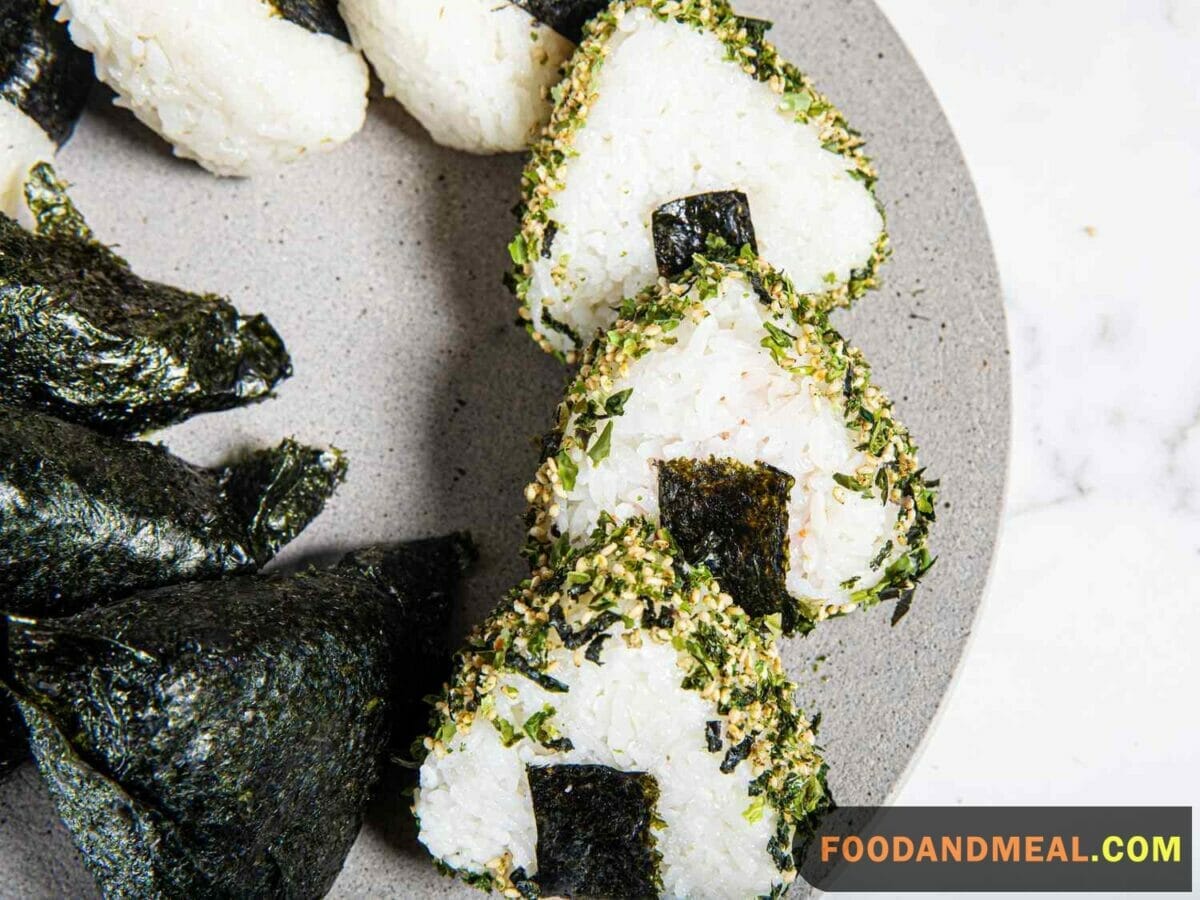
Ingredients:
- 4 Japanese Rice Balls (onigiri japanese rice balls recipe)
- 1 tablespoon cooking oil
- A pinch of salt
Instructions:
- Prepare Your Onigiri: Start with cooked and shaped Onigiri. If they’re cold from the refrigerator, allow them to come to room temperature for even cooking.
- Heat the Pan: Place a non-stick frying pan over medium heat and add the cooking oil. Let it heat up, but be careful not to overheat and smoke the oil.
- Pan-Fry the Japanese Rice Balls: Gently place the Onigiri in the pan, ensuring they don’t touch each other. Sprinkle a pinch of salt over the top of each one for added flavor. Allow them to cook for about 2-3 minutes or until the bottoms turn a golden brown color.
- Flip and Repeat: Using a spatula, carefully flip the Onigiri to the other side. You should now have a beautifully crispy surface. Cook for another 2-3 minutes until that side is golden as well.
- Serve Warm: Once both sides are crispy and golden, transfer your Pan-Fried Rice Balls to a plate lined with a paper towel to remove any excess oil. Allow them to cool for a minute or two, and then serve immediately while they’re warm and at their crispiest best.
Tips:
- Avoid overcrowding the pan; cook 2-3 Onigiri Rice Balls at a time for the best results.
- You can customize the level of crispiness by adjusting the cooking time to your preference.
- Pan-frying Onigiri is a fantastic way to give them a crunchy texture with a slightly different flavor profile compared to grilling or broiling. Enjoy your crispy Onigiri as a delightful snack or side dish.
What type of rice is best for onigiri?
When it comes to crafting the perfect onigiri, the choice of rice can make all the difference. As I’ve ventured through my own culinary experiments, I’ve learned that the best type of rice for onigiri is undoubtedly short-grain rice. This variety has just the right amount of stickiness, allowing the grains to cling together without becoming too mushy – a crucial factor in achieving that iconic onigiri shape that fits so comfortably in your hand.
In my opinion, there’s something almost magical about the way short-grain rice transforms when steamed. It develops a tender texture and a subtle sweetness that complements any filling you choose to nestle within your rice ball. And let’s not forget the satisfaction that comes from feeling the grains mold to the pressure of your palms as you shape your onigiri – it’s a tactile pleasure that I believe every cooking enthusiast should experience.
While some may argue that other types of rice can be used, I stand by the traditional choice. Short-grain rice doesn’t just create the best onigiri; it carries the essence of Japanese culinary tradition. Each bite is a reminder of the care and attention that goes into Japanese cooking, and for me, that’s what makes onigiri such a special dish to prepare and share.
To enhance your onigiri-making experience, consider using a high-quality short-grain rice and a Japanese rice cooker. The precision and technology of a Japanese rice cooker can contribute to achieving the perfect texture and flavor for your rice, elevating your onigiri to new heights. So, grab yourself a bag of high-quality short-grain rice, fire up your Japanese rice cooker, and let’s get ready to roll some onigiri together. Trust me, your taste buds will thank you for staying true to this classic choice.
Tips for making Japanese Rice Balls
Cooking Tips
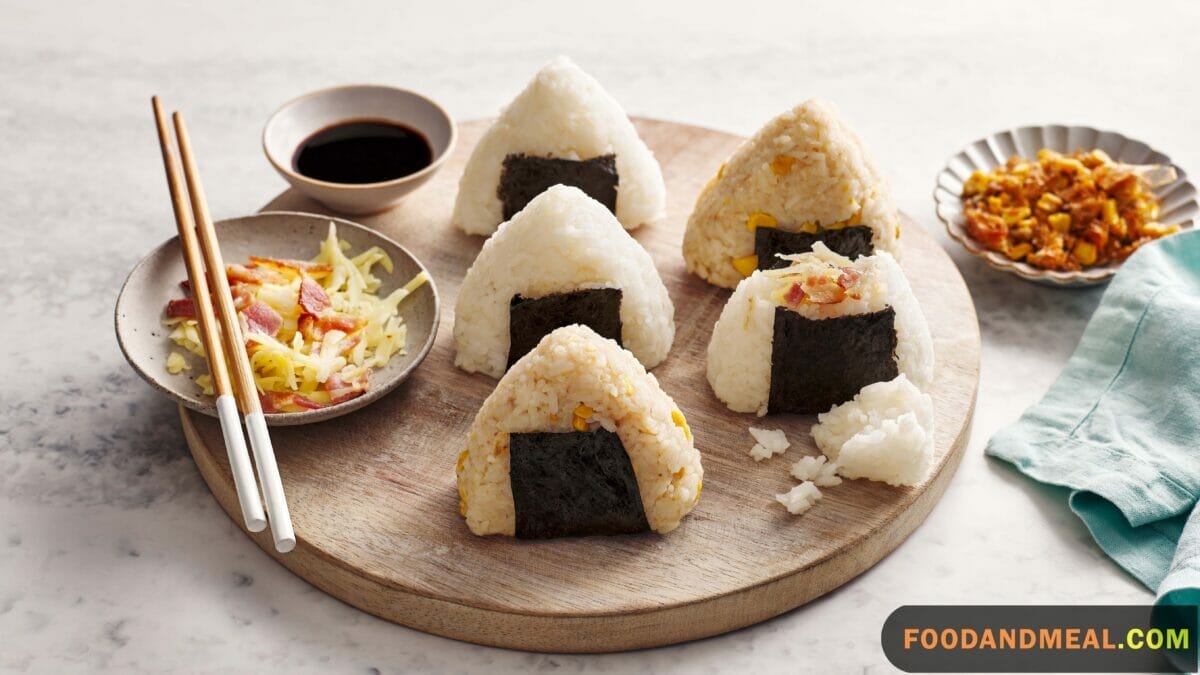
- Use High-Quality Rice: Start with the right kind of rice, preferably Japanese short-grain rice. It’s stickier and holds its shape better when molded into Onigiri.
- Keep Your Hands Moist: To prevent the rice from sticking to your hands, keep a bowl of salted water nearby. Dip your hands into the water before shaping each Rice Balls.
- Perfect the Triangle Shape: To achieve the classic triangular Onigiri shape, wet your hands, take a handful of rice, and mold it into a ball. Then, press it into a triangular shape using both hands, exerting gentle pressure.
- Stuff with Fillings: Experiment with various fillings to enhance your Onigiri. Common fillings include pickled plum (Umeboshi), grilled salted salmon (Shiozake), and seasoned seaweed (Nori).
- Seal the Edges: Ensure the Japanese Rice Balls is well sealed to prevent the filling from spilling out. Be gentle but firm when shaping it.
- Master Grilling or Frying: When grilling or frying Onigiri, preheat the grill or pan. Cook them until the surface is crispy and slightly browned.
- Wrap in Nori Seaweed: For extra flavor and easier handling, wrap your Onigiri in a strip of Nori seaweed just before eating.
Serving Suggestions
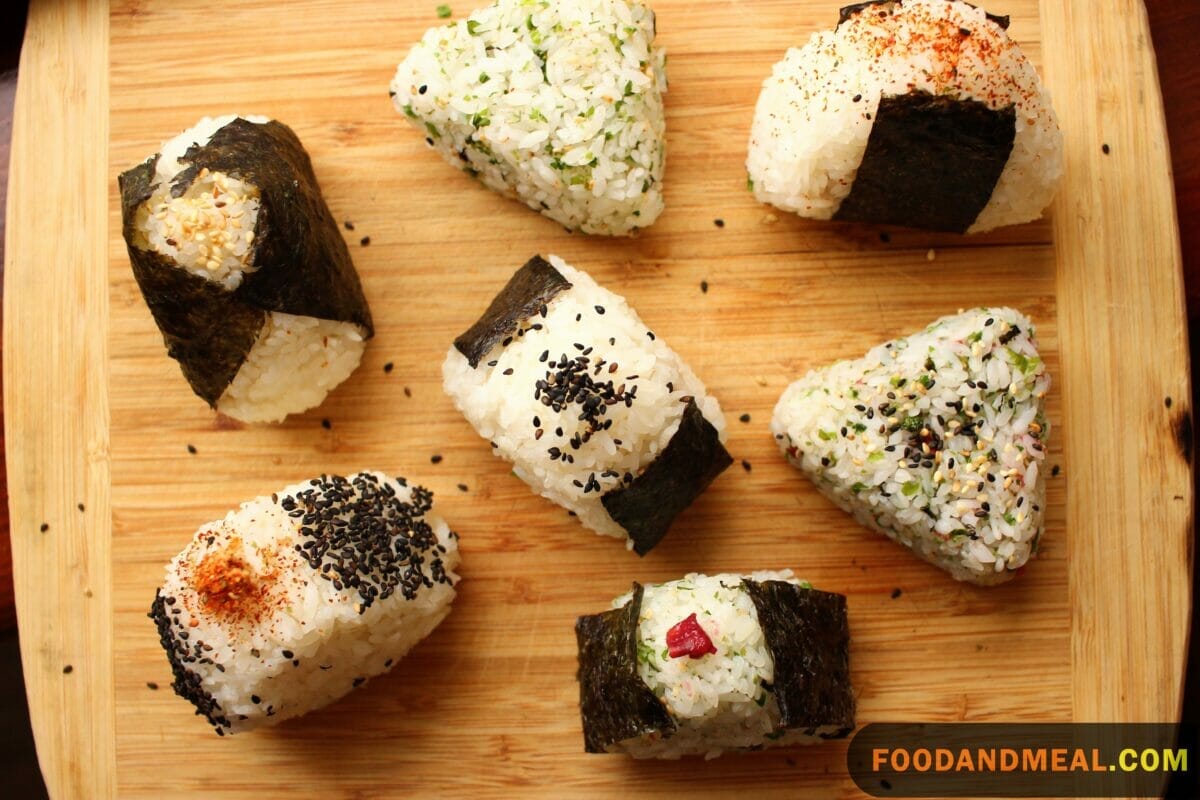
The art of pairing is much like a delicate dance between flavors, where each step complements the other in perfect harmony. For our beloved Japanese Rice Balls, or onigiri, we want to find companions that will enhance their subtle taste without overpowering their gentle charm.
Consider serving these rice balls alongside lighter fare, such as a refreshing salad or a delicate soup. The Grilled Pide Sandwich or the Grilled Panini with Vegetables could be a delightful contrast in textures, offering a crispy counterpoint to the soft and sticky rice. For a heartier meal, pair the onigiri with the Grilled Sea Bream or the BBQ Prawns in Honey Mustard Sauce, allowing the seafood’s natural zest to dance with the rice’s comforting blandness.
If you’re feeling adventurous, why not create a fusion of flavors by accompanying the it with the Thai Green Chicken Curry with Vegetables? The curry’s robust spices will provide a fiery backdrop to the rice balls’ soothing canvas.
And for those who prefer to keep it traditional, the Sushi Balls, Nigiri Sushi, or a simple Miso Soup would be the perfect accompaniments, staying true to the Japanese culinary ethos and creating a meal that whispers tales of the Land of the Rising Sun.
No matter what you choose, remember that the joy of onigiri lies in its versatility. So, let your taste buds lead the way and enjoy the symphony of flavors that await!
Frequently Asked Questions about Japanese Onigiri Rice Balls
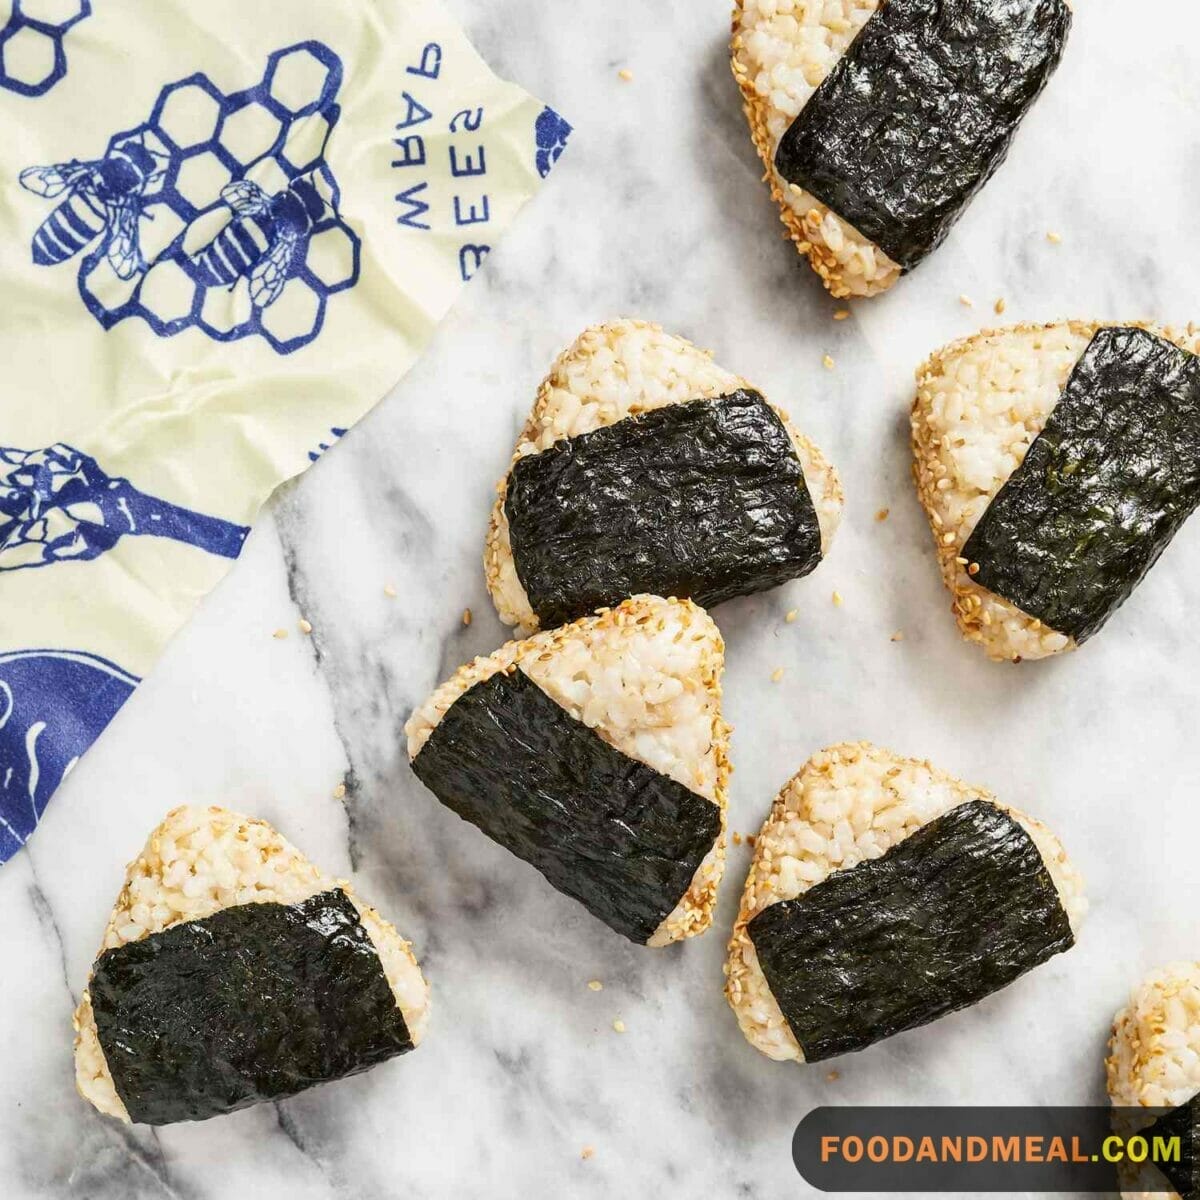
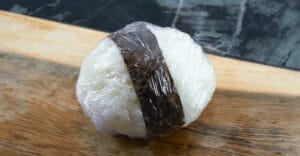
- Can I make Japanese Rice Balls in advance? Yes, you can. However, it’s best to enjoy them freshly made for the ideal texture. If you want to make them in advance, wrap each Onigiri individually in plastic wrap to retain their moisture.
- Are there vegetarian or vegan Onigiri options? Absolutely! You can fill your Onigiri with a wide range of vegetarian or vegan options, like grilled vegetables, marinated tofu, or seasoned legumes.
- How do I reheat leftover Onigiri? To refresh the texture, lightly pan-fry or grill the leftover Onigiri. This will restore their crispy exterior. Alternatively, you can microwave them, but the texture may not be as crispy.
- Can I freeze Onigiri? Yes, you can freeze it. Wrap them individually and place them in an airtight container. To enjoy, reheat them without thawing.
- Is it essential to use a bamboo mat to shape Onigiri? While bamboo mats (Makisu) are handy, they’re not essential. You can shape Onigiri by hand without a bamboo mat. The key is to keep your hands moist to prevent sticking.
Conclution
As we wrap up our culinary adventure, I hope you’ve felt the same spark of excitement that ignites my spirit every time I craft an onigiri. These Japanese Rice Ball are more than just a recipe; they’re a gateway to exploring new flavors and traditions, a chance to bring a piece of Japan into your kitchen, no matter where you are.
Remember, each rice ball you shape is a reflection of your personal journey in the kitchen – imperfect, unique, and utterly beautiful. Embrace the imperfections, as they are what make your creations truly yours.
Thank you for joining me at Food And Meal, and for allowing me to be a part of your cooking exploration. Until next time, keep rolling, keep experimenting, and most importantly, keep enjoying the delicious simplicity of Japanese Rice Balls. Sayonara, and happy cooking!
I'm James F Anderson, a noted sous chef from London and a Le Cordon Bleu alumnus. My career began in a Michelin-starred Parisian eatery, where my blend of classic and contemporary cooking, using seasonal ingredients, earned accolades. Recognized in culinary publications and on cooking shows, I’m committed to mentoring aspiring chefs and delivering memorable dining experiences, marking me as a standout talent in the culinary world.


