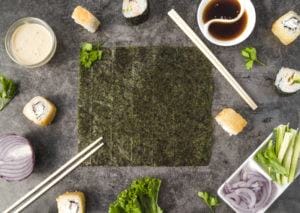
We’ve all been enchanted by sushi rolls, but the understated elegance of Onigiri, the sushi ball, is something else. Dive deep into its rich heritage and taste with me, as we sculpt these delightful morsels at home.
Sushi balls is one of the most popular foods not only in its native Japan but around the globe. Changing the shape, of the traditional sushi and we get sushi balls or onigiri. Now, the rice used for this type of sushi is just plain, white rice but can handle various kinds of fillings. In Japan, they usually have onigiris during lunchtime or picnic as this can be prepared easily.
Sushi Balls Recipe
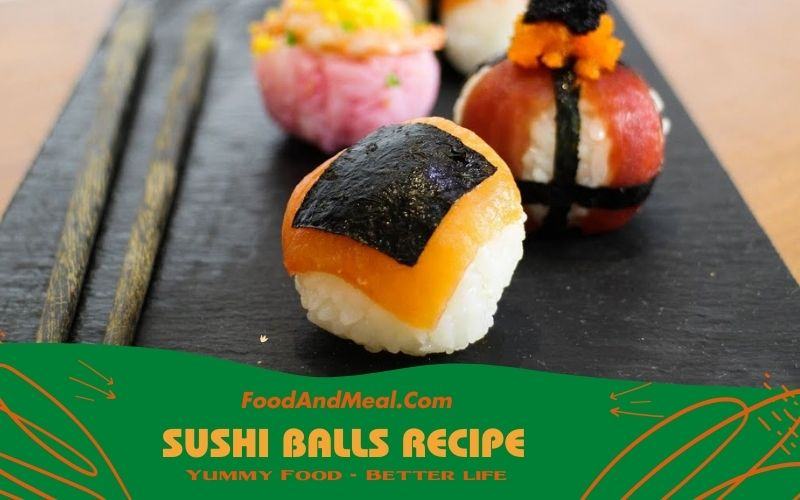

Sushi Balls (Onigiri)
Ingredients
Ingredients
- Sushi rice
- White wine vinegar
- Rice wine vinegar
- Sugar
- Salt sesame seeds or furikake
- Nori sheets
- Fillings of choice pickled plum, avocado, crab meat, tuna or salmon
Instructions
Rice Preparation
- Put the rice grains into a large bowl and fill the bowl with water. Rinse the rice for a total of five rinses, or until the water becomes to clear up. This way, the cooked grains will become fluffy and light in texture.
- Put the rice into the pot and add water. Take note that the ratio of the rice against water is 1:1 cup.
- Boil the rice in high heat. When the steam comes out, open the lid and bring the flame into a medium flare then cook for about 10 minutes more. After 10 minutes, lower the heat again and wait up to 10 minutes more then remove from stove.
- Let the rice cool down completely. Meanwhile, mix equal parts of rice vinegar, white wine vinegar and sugar in a saucepan. Add 2 tablespoons of sugar in every ¾ cup of vinegar blend.
- Heat the sugar and vinegar mixture and stir continuously until all the sugar granules dissolve.
- Drizzle half of the mixture on the rice and mix the rice using a spatula. Do the mixing in a slicing motion and taste. Now, the taste the rice and see if you reach desired flavor.

Shaping the Rice
- Get a small teacup (or bowl) and line it with a durable plastic wrap. Spray the plastic wrap with water and get out the excess. Put flavoured furikake seasoning mix, sesame seeds and a dash of salt.
- Scoop up the rice into the cup barely filling up the whole cup. Poke your choice of filling inside the rice (it can be pickled plum, avocado, crab meat, tuna or salmon). Close the wrap around the rice tightly and twist to form a ball.
- Using both your hands, shape the rice into a traditional shape of an onigiri which is triangular with rounded sides. Form your hands in an “L” shape form press the rice until you reach the desired form. Remember that the rice is still inside the plastic wrap.
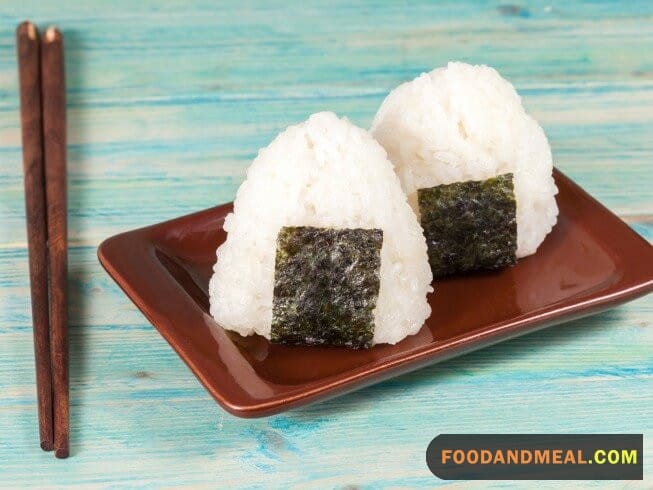
- Get your onigiri off the wrap and place a strip of nori around it. Serve and enjoy with your friends or colleagues.
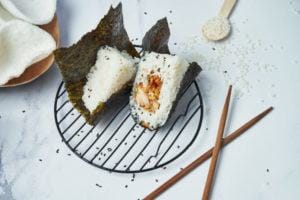
- Top view on tasty, traditional Onigiri – Japanese food made from white rice formed into triangular with Pan fried chicken. Copy space

Video
Notes
Nutrition
© Food And Meal
This website provides approximate nutrition information for convenience and as a courtesy only. Nutrition data is gathered primarily from the Spoonacular Database, whenever available, or otherwise other online calculators.
Making Sushi Balls – Onigiri Using a Rice Cooker
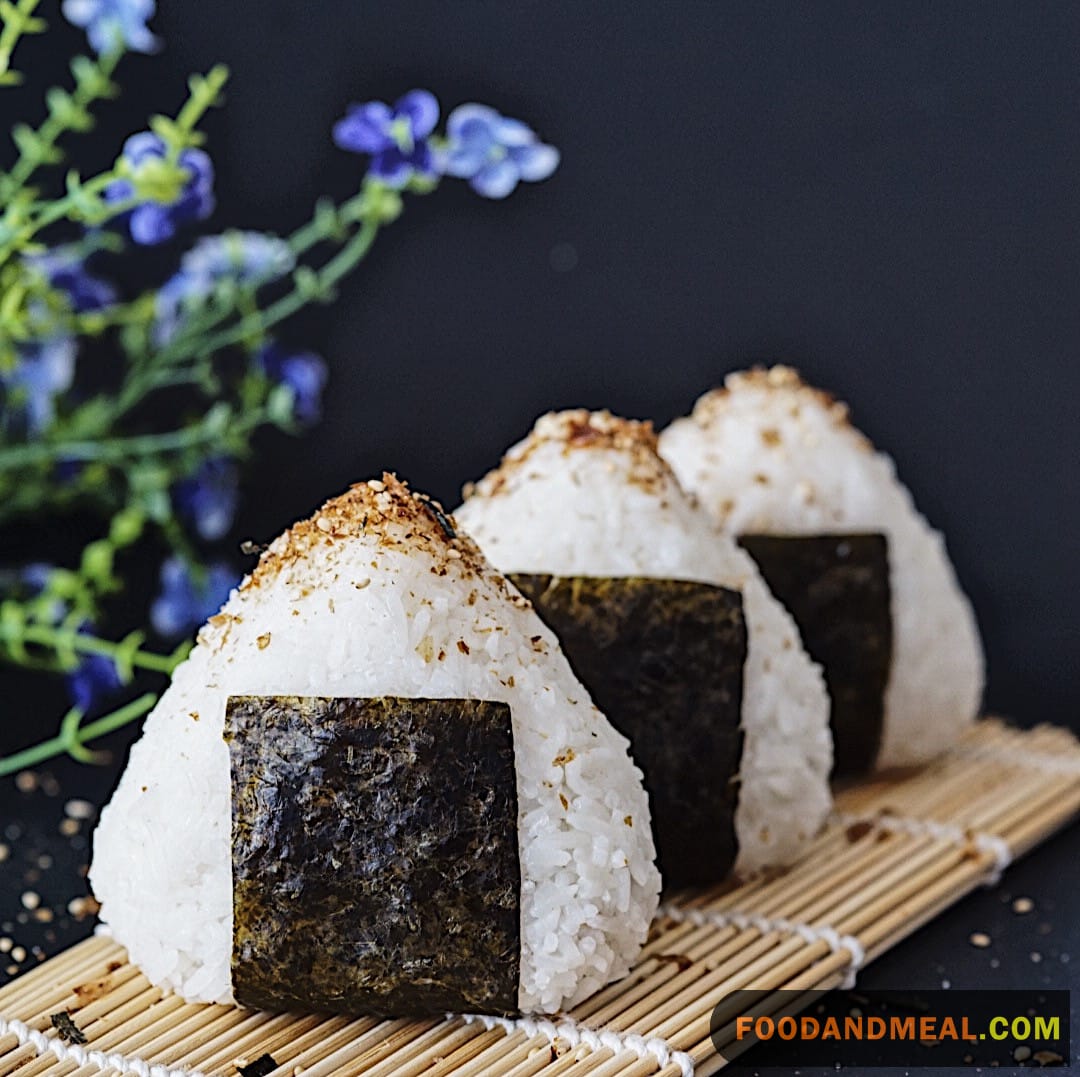
While traditionally, Onigiri is made using a stovetop pot to prepare the rice, modern kitchens can benefit from the convenience and consistency of a rice cooker. Here’s how you can craft these Japanese delights using your handy rice cooker:
Ingredients:
- 2 cups short-grain Japanese rice or sushi rice
- 2 ½ cups water
- Desired fillings (like pickled plum, salmon, or bonito flakes)
- Nori seaweed, for wrapping
- Salt, to taste
Steps:
- Rice Preparation: First and foremost, rinse your rice under cold water. Keep washing until the water becomes clear, ensuring all the excess starch is removed. This step is crucial to get that sticky texture that’s perfect for Onigiri.
- Rice Cooker Magic: Transfer your washed rice into the rice cooker. Add the 2 ½ cups of water and let it sit for about 30 minutes. This soaking time allows the rice to achieve the right consistency. Once soaked, start the rice cooker and let it do its magic.
- Cooling the Rice: After the rice is done cooking, let it sit for another 15 minutes in the rice cooker (without opening the lid). Then, transfer the rice to a large bowl and let it cool down slightly. It should still be warm when you’re shaping your Onigiri.
- Shaping the Onigiri: Wet your hands with water (to prevent sticking) and sprinkle a bit of salt on them. Take a handful of rice, create an indentation for your desired filling, and mold the rice around the filling into a triangle or ball shape.
- Wrapping with Nori: Cut your nori seaweed into strips. Once your Onigiri is shaped, wrap them with the nori strip.
- Enjoy!: Best served immediately. But if you’re saving some for later, make sure to wrap them in cling wrap to maintain freshness.
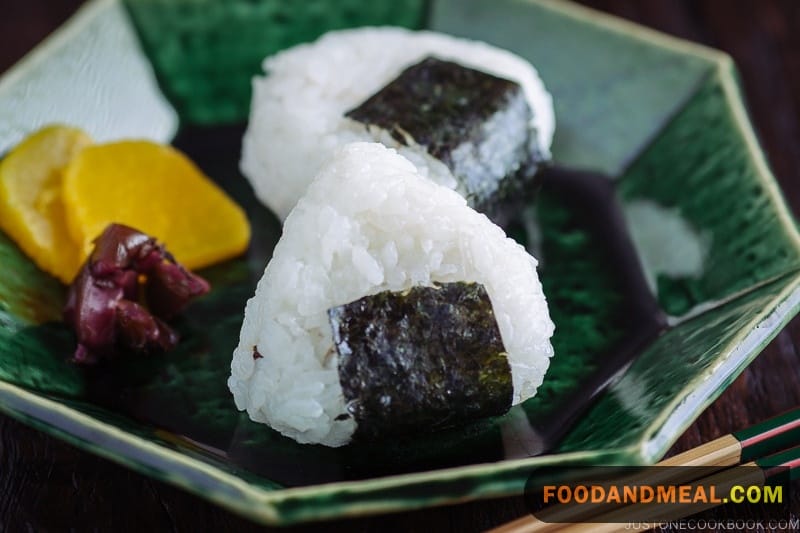
This method ensures perfectly cooked rice every time, making your Onigiri-making process a smooth sail. Plus, the rice cooker keeps everything consistent, so each sushi ball turns out just as delightful as the last!
Experience the convenience and perfection of crafting your Onigiri with a genuine Japanese rice cooker. It’s not just a tool, but a kitchen companion that understands the essence of Japanese culinary art. Ready to elevate your Onigiri game? Invest in a rice cooker straight from Japan! 🍙
Tips for making Sushi Balls
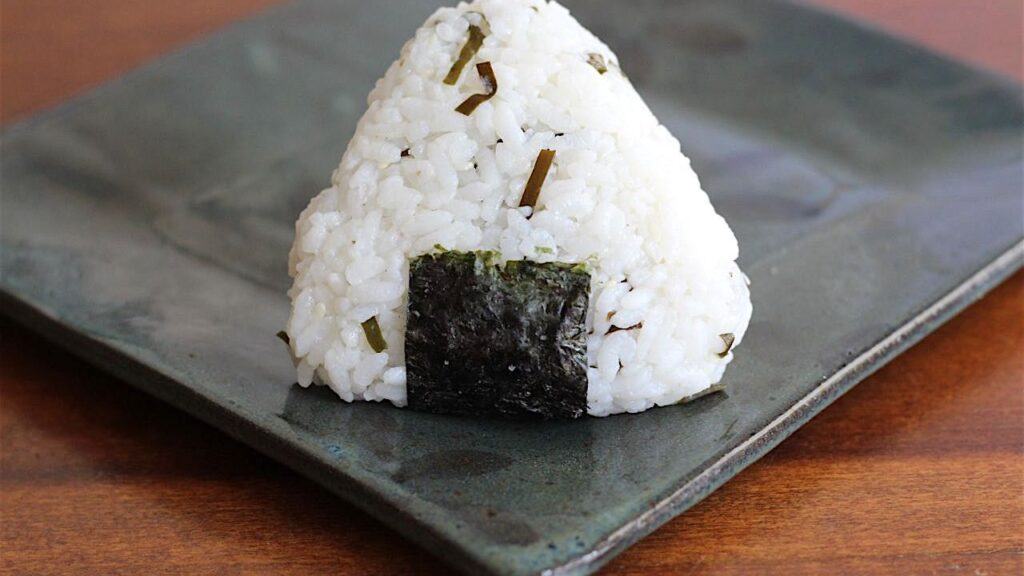
Serving Suggestions
Sushi Balls or Onigiri, as traditionally known, isn’t just a solo show. The beauty of this dish is its versatility in pairing:
- Dip it Right: A light soy sauce or tamari is a classic choice. You can also try ponzu for a citrusy touch. Remember, a little dip goes a long way.
- Pickled Pleasures: Japanese pickles, or tsukemono, like radish or cucumber provide a crunchy, tangy side that contrasts the soft and savory Onigiri.
- Soup it Up: A bowl of miso soup with some tofu and seaweed can be the warm hug your Onigiri needs. The saltiness of the soup complements the subtle flavors of the rice ball.
- Drink Pairings: Green tea, whether hot or cold, is a match made in heaven. For those evenings, a light sake or plum wine can elevate the experience.
Feel free to mix and match, find your favorite combination, or simply enjoy them solo!
Cooking Tips
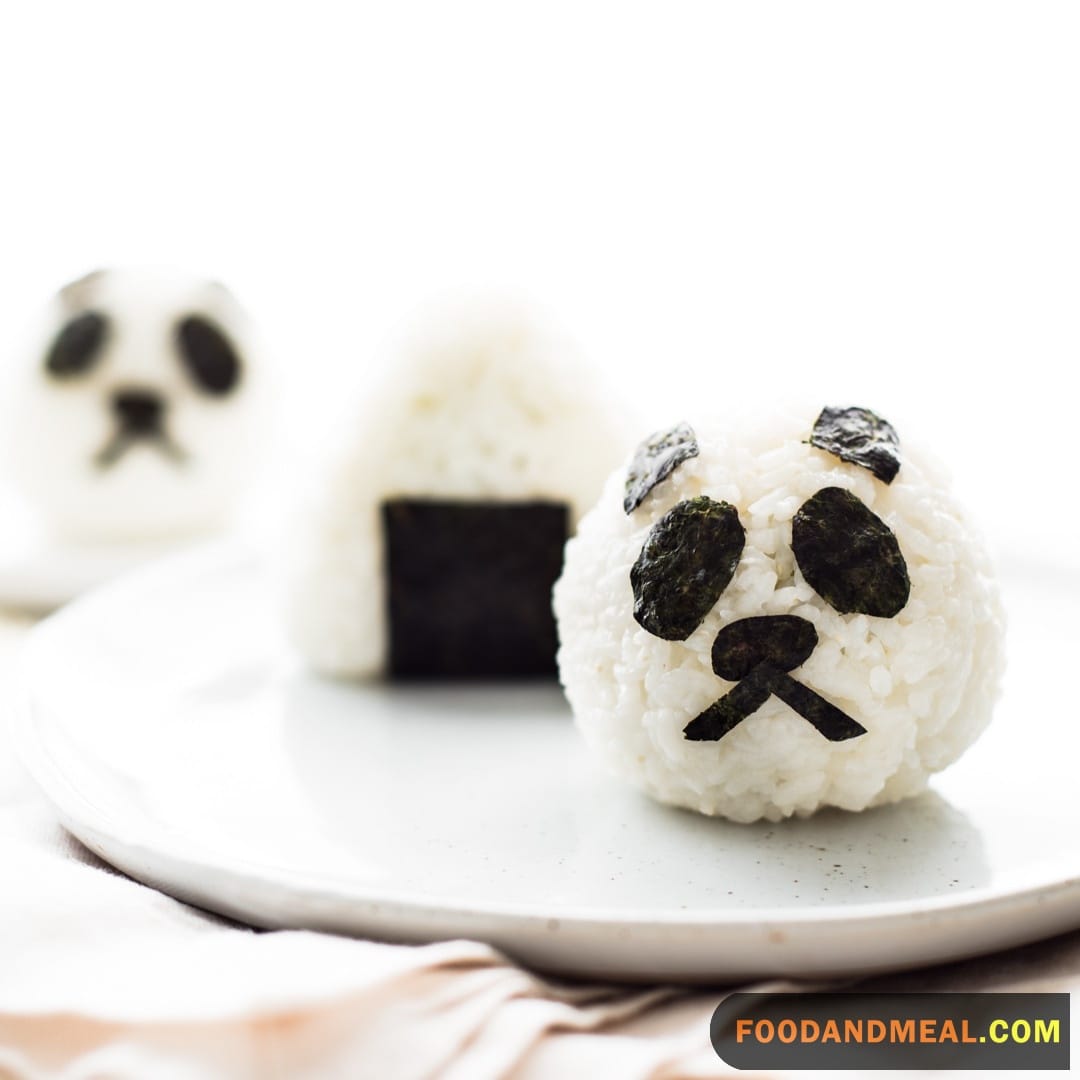
Making the perfect Onigiri is an art, but with a few secrets up your sleeve, you’re set for success:
- Rice Matters: Always opt for Japanese short-grain or sushi rice. Their stickiness holds the shape and carries the flavor.
- Handling Rice: Wet your hands with water and a sprinkle of salt before shaping to prevent sticking and to give a gentle seasoning.
- Filling Varieties: Be adventurous! Traditional fillings are great, but consider fusion flavors like spicy tuna, avocado, or even some cream cheese.
- Common Mistake: Overstuffing. It might be tempting, but overfilling makes it hard to seal and shape the Onigiri. Less is more here.
Remember, practice makes perfect. The more you make, the better they get!
Can I Use the Onigiri Recipe to Make Vegetarian Sushi Balls?
Yes, you can definitely use the onigiri recipe to make vegetarian sushi balls. By substituting fish or seafood fillings with vegetarian options like tofu, avocado, or cucumber, you can easily create delicious and flavorful nigiri at home. Whether you prefer traditional or innovative combinations, making vegetarian nigiri at home allows you to have full control over the ingredients and customize them to your liking. Give it a try and enjoy the taste of homemade vegetarian sushi!
FAQs
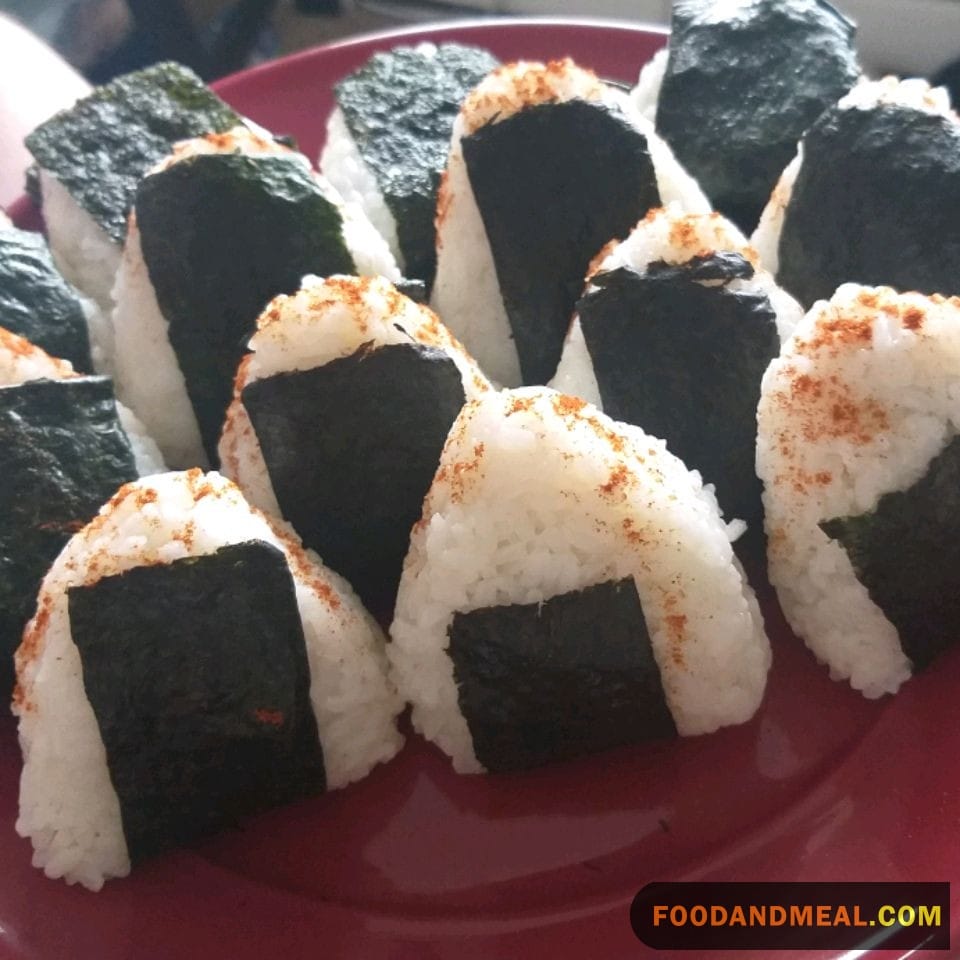
1. What type of rice is best for making Onigiri?
Japanese short-grain or sushi rice is the best for Onigiri. Its sticky texture helps to hold the shape and enhance the overall taste.
2. Can I make vegan or vegetarian Onigiri?
Absolutely! Fillings like pickled vegetables, avocado, or even seasoned tofu can make for a delicious vegan Onigiri.
3. How to store leftover Onigiri?
Wrap each Onigiri tightly in cling wrap and store them in the refrigerator for up to 2 days. Before eating, you can warm them slightly in a microwave.
4. Why is my Onigiri falling apart?
It’s likely due to the type of rice used. Ensure you’re using Japanese short-grain or sushi rice and not long-grain or basmati.
5. Can I freeze Onigiri?
Yes, you can! Wrap them individually in cling wrap and store in freezer bags. When ready to eat, defrost in the fridge and then warm slightly in the microwave.
I hope these insights give you a holistic view of the delightful world of Onigiri. Dive in and enjoy the process, flavors, and, of course, the satisfaction of a meal well made!
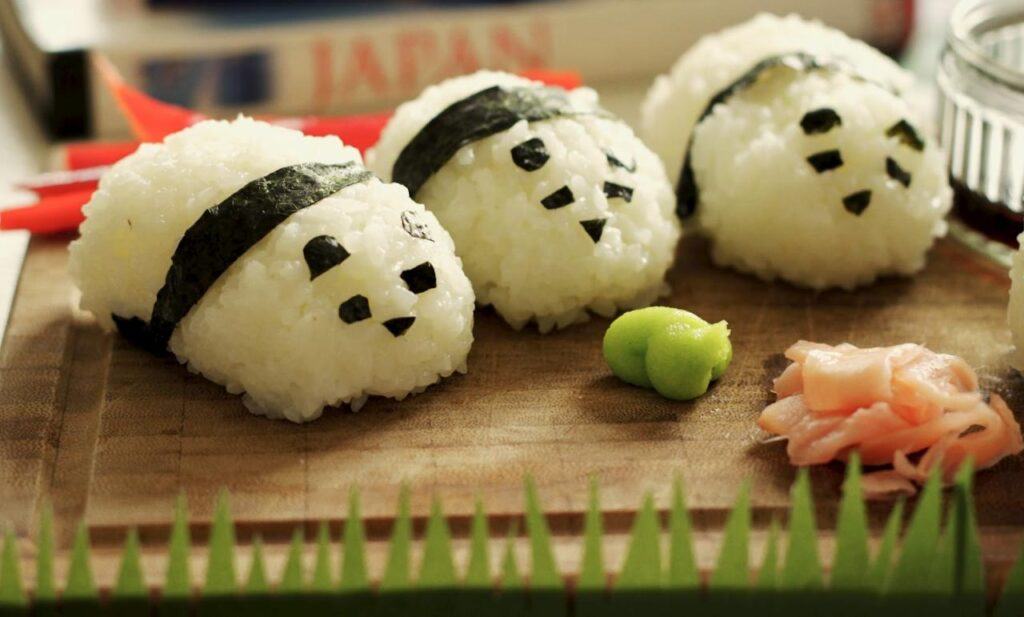
Transport your taste buds to the streets of Japan with our authentic Onigiri recipe. These Sushi Balls are more than a meal; they’re an experience. If this recipe stirred the chef in you, share the love and inspire others. Join our community – hit that subscribe button for more!
Thanks for your visiting our Food And Meal
Experience the culinary brilliance of Chef John at Food And Meal Restaurant. With over 20 years of global expertise, My innovative creations and unwavering dedication to cooking have earned me a well-deserved reputation. My passion for gastronomy is showcased in every dish, combining fresh, local ingredients with harmonious flavors and captivating presentations. My ability to tell a story through my food reflects my profound understanding of culture and emotion.


