Maintaining a clean kitchen is essential for the health and well-being of your family as well as the longevity of your appliances.One area that tends to be overlooked is the space behind the dishwasher, where debris and grime can accumulate, providing an ideal environment for bacteria to thrive.
Don’t be daunted by the task of pulling out your dishwasher. Instead, follow these simple steps for a safe and efficient cleaning process. By doing so, you can ensure a hygienic kitchen and extend the life of your valuable appliances.
In Food and Meal‘s post, you will find a detailed step-by-step guide on How to Pull Out A Dishwasher To Clean Behind It.

Some products to help you clean your dishwasher
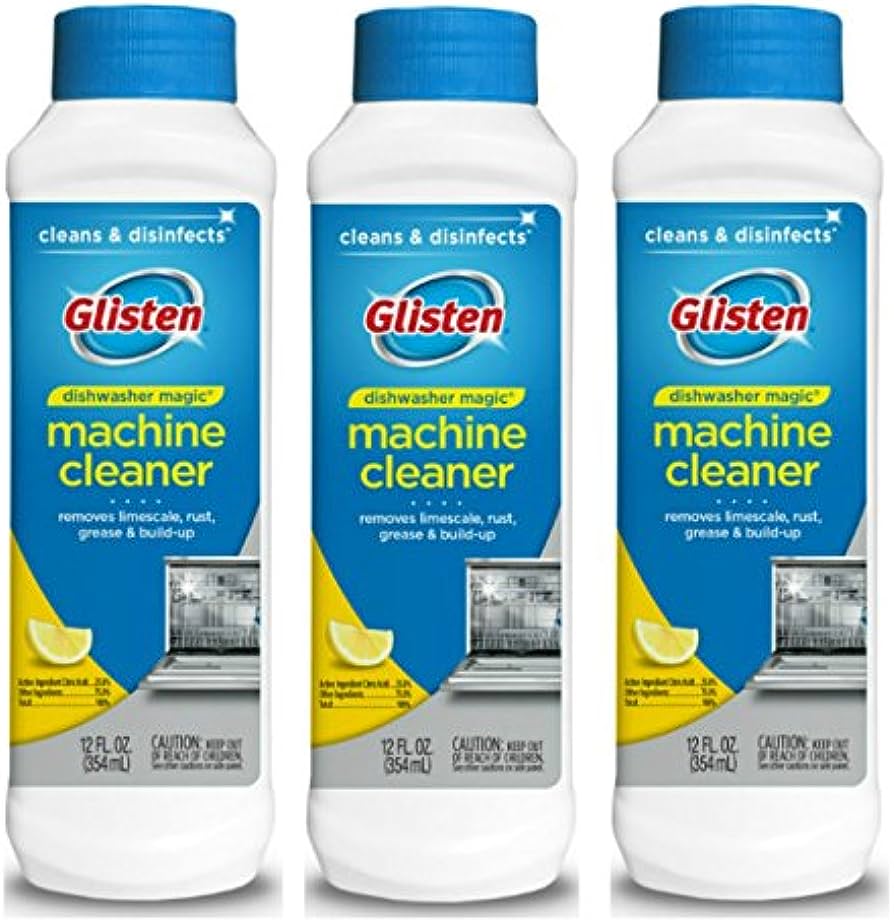
Glisten Dishwasher Cleaner & Disinfectant (3-Pack)
30 Day Freshness
Effectively disinfects against E-coli and salmonella

Lemi Shine Dishwasher Cleaner and Deodorizer (8-Pack)
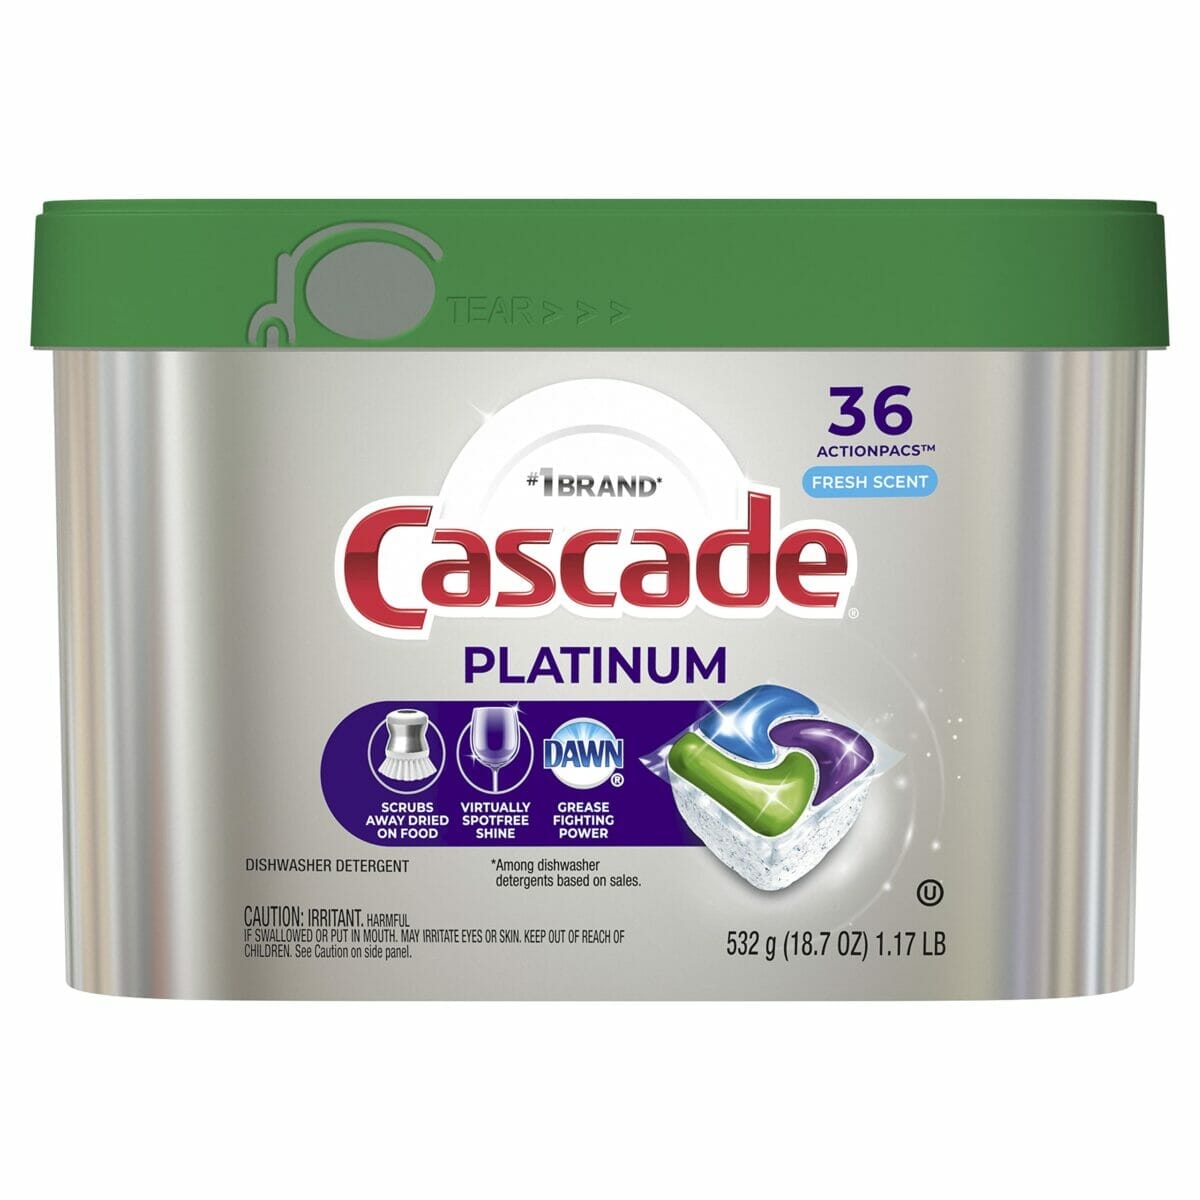
Cascade Platinum Dishwasher Cleaner Pods Fresh Scent
ActionPacs are formulated with the grease-fighting power of Dawn dish soap

Oh Yuk Dishwasher Cleaner and Descaler for All Brands and Models
Natural citrus scent
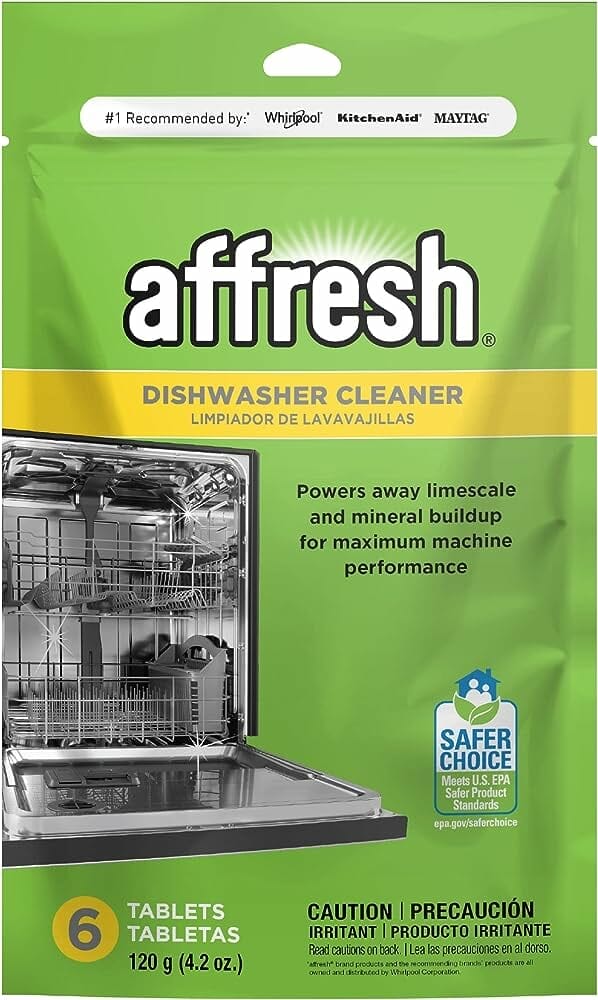
Affresh Dishwasher Cleaner
No.1 Recommended by many famous brands
In addition to the products we recommend, you can use a number of easy-to-find products every day to clean. See details in this article: How To Clean A Dishwasher Without Vinegar?
Essential Tools for Pulling Out Your Dishwasher
| Pliers | Use pliers to loosen clamps or connectors securing the dishwasher to the water supply or drainage system. |
| Adjustable Wrench | A handy adjustable wrench helps you remove nuts or bolts holding the dishwasher securely in place. |
| Towels or Rags | Keep towels or rags handy to absorb any water that might spill out while disconnecting the water supply and drainage hoses. |
| Dishwasher Dolly or Furniture Dolly | A dishwasher dolly or furniture dolly is essential for moving the dishwasher out from its current position without causing damage to the flooring or the dishwasher itself. |
| Screwdriver | You’ll need a flathead or Phillips screwdriver to remove any screws securing the dishwasher in position. |
| Helper | A helper can significantly ease the task, providing guidance in pulling out the dishwasher from its current location and assisting with disconnecting hoses or wires. |
Steps to Pull Out A Dishwasher To Clean Behind It
Step 1: Before you begin any work on your dishwasher, take the following precautionary steps:

- Turn off the Power: Locate the circuit breaker responsible for supplying power to your dishwasher and switch it off. This important action will prevent any electrical accidents while you’re working on the appliance.
- Shut off the Water Supply: Close the shut-off valve located under the sink to turn off the water supply to the dishwasher. This step ensures a safe environment and avoids any potential water-related mishaps during your maintenance or cleaning tasks.
Step 2: Removing the Bottom Kickplate
To proceed with the removal of the bottom kickplate, follow these instructions:
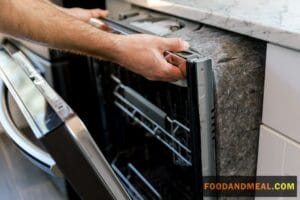
- Locate the Kickplate: Identify the kickplate situated at the bottom part of the dishwasher.
- Unscrew and Remove: With the help of a screwdriver, carefully remove the screws that secure the kickplate in position.
- Gently Pull and Pop Out: Once the screws are undone, gently pull the kickplate towards you until it pops out from its place.
- Store Safely: Set the kickplate aside in a safe location for later use or safekeeping.
Step 3: Detaching the Dishwasher from the Countertop
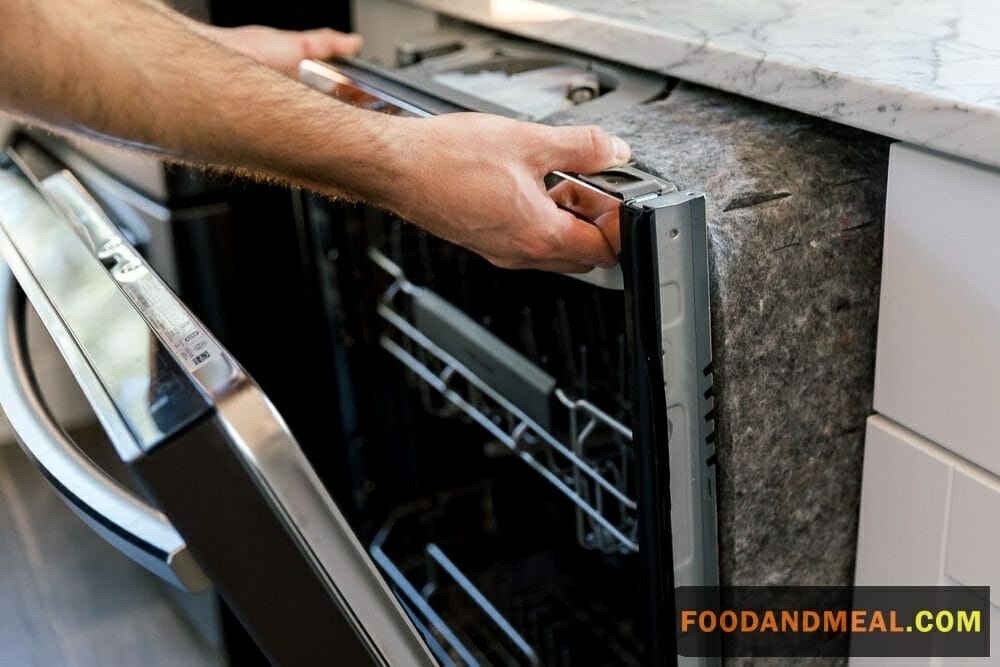
Follow these steps to detach the dishwasher from the countertop:
- Locate the Screws: Identify the two screws usually positioned at the top of the dishwasher, securing it to the countertop.
- Loosen and Remove: Use a screwdriver to carefully loosen and remove the screws.
- Lift the Front: Once the screws are removed, lift the front of the dishwasher slightly to release it from the countertop.
Step 4: Disconnecting the Water and Drain Line
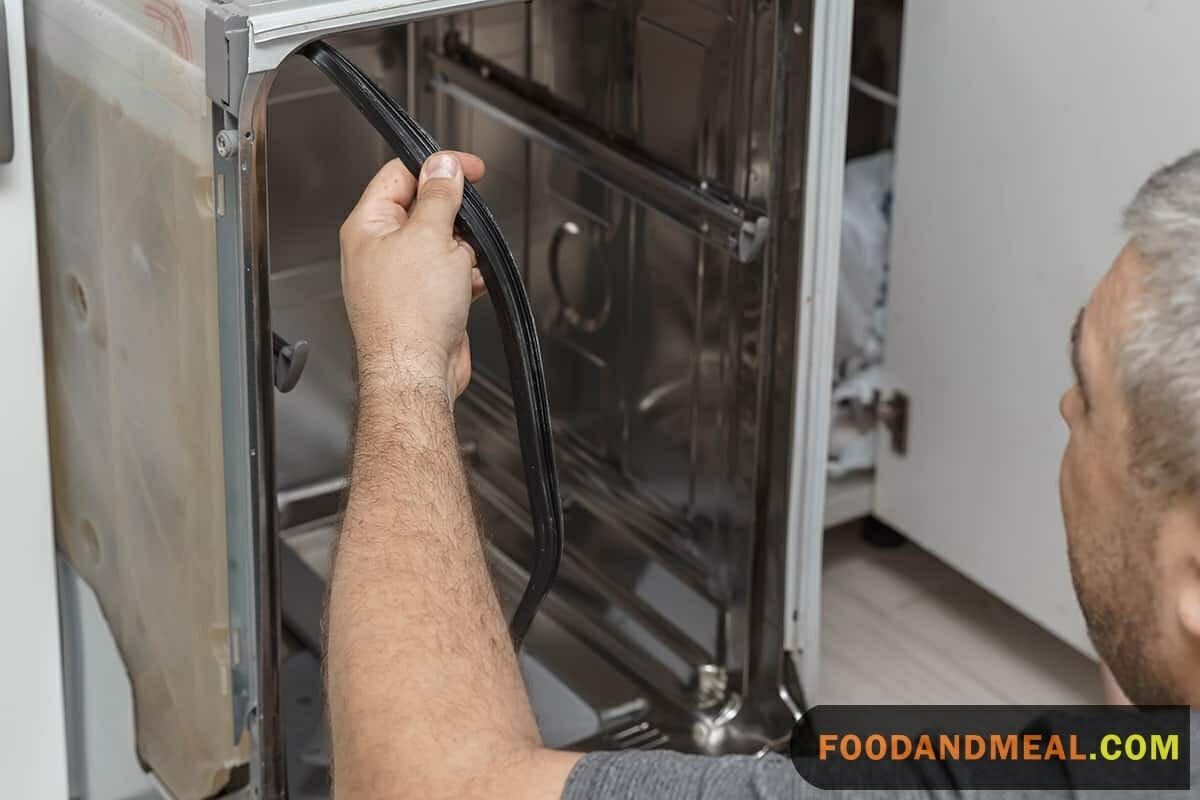
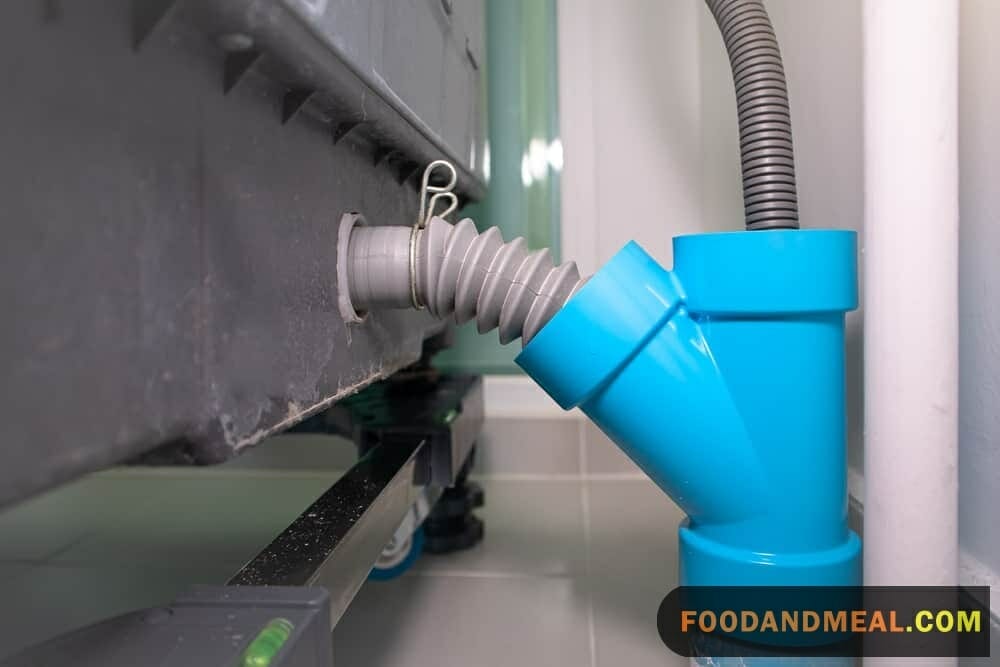
To proceed with disconnecting the water and drain lines from the dishwasher, follow these steps:
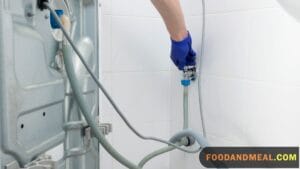
- Locate the Lines: Identify the water supply and drain lines that are connected to the dishwasher.
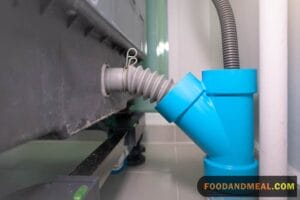
- Disconnect the Water Supply Line: Use pliers to carefully disconnect the water supply line from the dishwasher.
- Detach the Drain Line: Unscrew the drain line to carefully detach it from the dishwasher.
- Use a Wrench if Needed: If you encounter any difficulty in disconnecting the lines, use a wrench to loosen the connections effectively.
- Place a Bucket or Towel: As a precaution, position a bucket or towel underneath the connections to catch any water that may spill out during the disconnection process.
Step 5: Gently Extract the Dishwasher
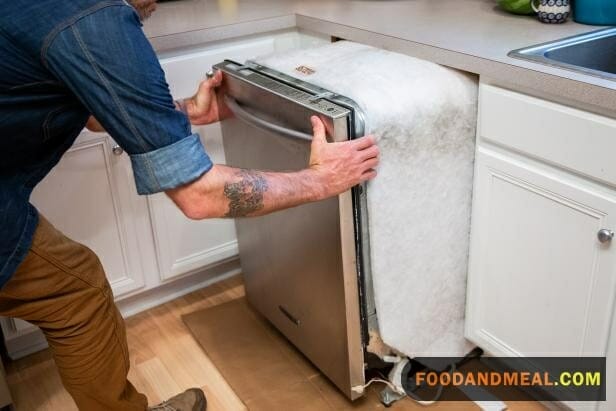
Follow these steps to carefully pull out the dishwasher from its current position:
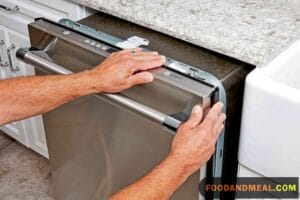
- Slow and Steady: Begin by pulling the dishwasher out slowly and steadily. If you encounter any resistance, take a moment to ensure that all necessary lines have been properly disconnected.
- Mindful Handling: Be cautious not to cause any damage to the flooring or any nearby objects as you pull the dishwasher out.
Step 6: Cleaning Behind the Dishwasher
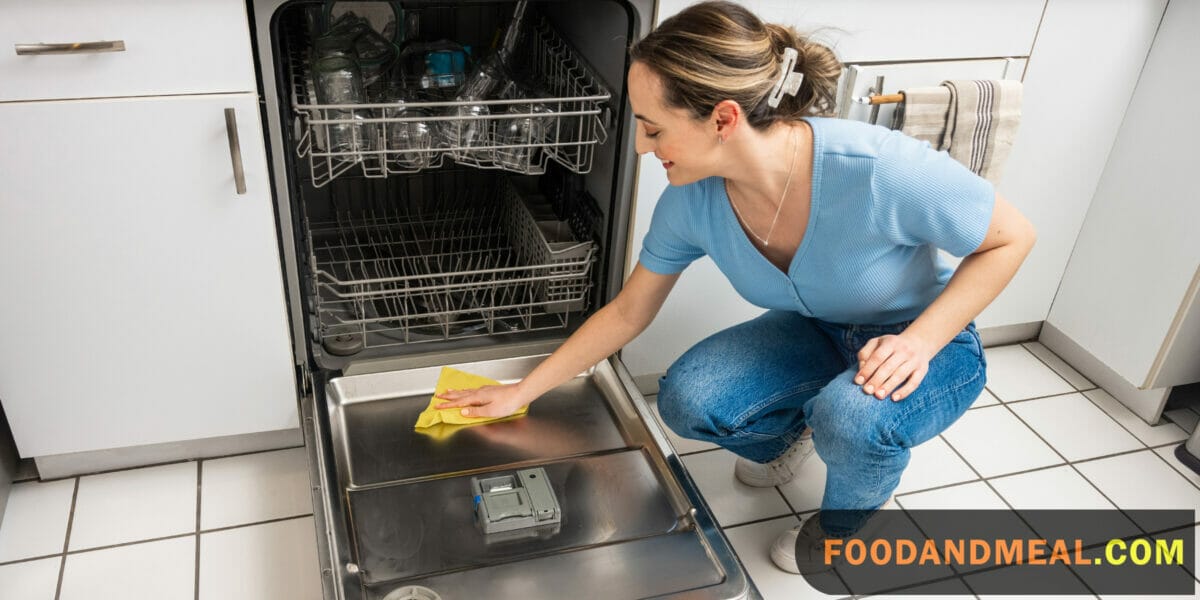
With the dishwasher pulled out, you can now focus on cleaning the area behind it:
- Clear Debris and Grime: Utilize a vacuum cleaner or a damp cloth to effectively remove any accumulated debris or grime.
- Thorough Cleaning: Pay close attention to the sides and back of the dishwasher, ensuring a comprehensive cleaning process.
- Tackle Mold and Mildew: If you encounter any mold or mildew, create a solution using water and vinegar to effectively clean and disinfect the affected areas.
Step 7: Reconnecting the Water and Drain Lines
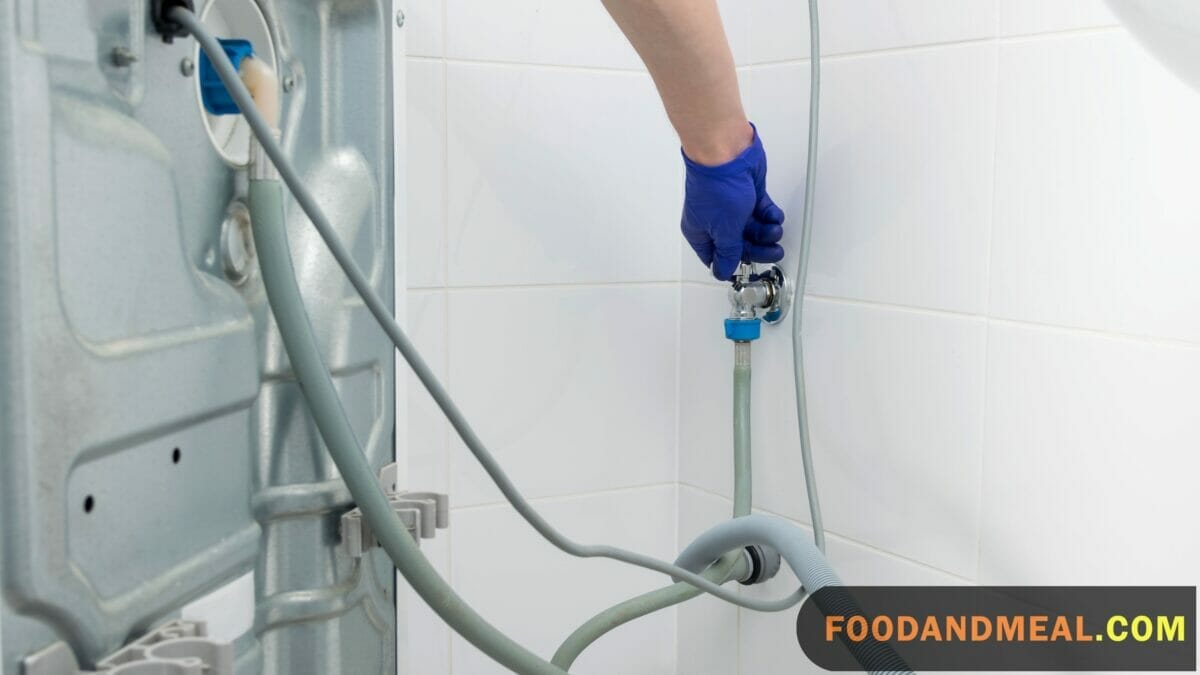
Now that the cleaning is complete, it’s time to reconnect the water supply line and the drain line:
- Secure the Connections: Begin by screwing the water supply line and the drain line back into their respective positions.
- Use Pliers with Caution: Utilize pliers to tighten the connections, ensuring a secure fit. However, be cautious not to overtighten them, as it may lead to damage.
- Check for Leaks: Before finalizing the process, run a short cycle on the dishwasher and carefully inspect for any leaks around the reconnected lines.
Step 8: Sliding the Dishwasher Back into Position
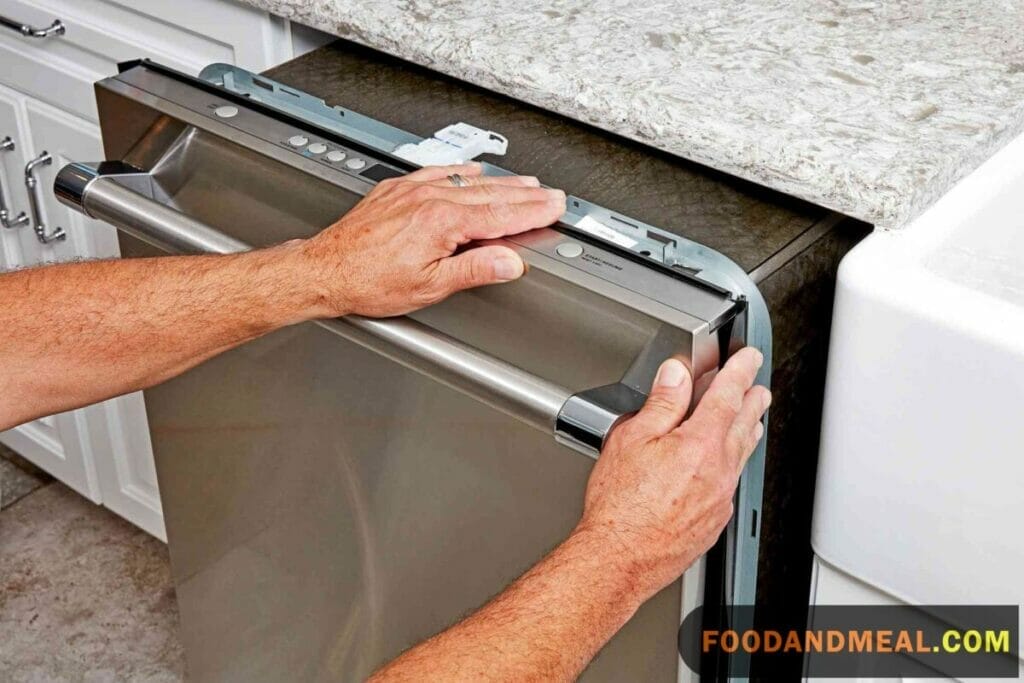
Follow these steps to gently slide the dishwasher back into its original place:
- Gentle Placement: Carefully and gently slide the dishwasher back to its initial position, ensuring a smooth reinsertion.
- Level and Flush: Check that the dishwasher is level and aligns flush with the countertop to maintain a neat appearance.
- Adjust the Feet if Needed: If the dishwasher is not level, adjust its feet until it is properly leveled with the countertop.
Step 9: Reattaching the Dishwasher to the Countertop

Follow these simple steps to securely reattach the dishwasher to the countertop:
- Reinsert the Screws: Align the dishwasher properly and carefully reinsert the screws that were removed in step 3 back into their original positions.
- Ensure a Secure Fit: Tighten the screws firmly to ensure a secure and stable attachment between the dishwasher and the countertop.
Step 10: Turning On the Power and Water Supply

In this final step, you will bring your dishwasher back to full functionality:
- Power Up: Turn on the power supply to your dishwasher by locating the circuit breaker responsible for it and switching it on.
- Water Supply: Open the shut-off valve under the sink to restore the water supply to the dishwasher.
- Testing Phase: Test the dishwasher to ensure it is functioning properly. Check for any leaks or unusual noises during this process.
How to Properly Pull Out A Dishwasher for Maintenance
Equipment
- Adjustable Wrench
- Towels or Rags
- Dishwasher Dolly or Furniture Dolly
- Screwdriver
- Helper
Materials
- Pliers
Instructions
- Turn off the Power. Shut off the Water Supply

- Removing the Bottom Kickplate

- Detaching the Dishwasher from the Countertop

- Disconnecting the Water and Drain Line

- Gently Extract the Dishwasher

- Cleaning Behind the Dishwasher

- Reconnecting the Water and Drain Lines

- Sliding the Dishwasher Back into Position

- Reattaching the Dishwasher to the Countertop

- Turning On the Power and Water Supply

Video
Notes
How Frequently Should You Tackle Dishwasher Area Cleaning?
As Part of Spring Cleaning
During the annual spring cleaning routine, it’s highly beneficial to devote some attention to cleaning behind your dishwasher. This often-overlooked task can yield significant rewards in terms of maintaining a spotless kitchen environment. Over the course of a year, it’s not uncommon for various spills, crumbs, and debris to find their way into the hidden nooks behind the dishwasher, creating stubborn stains and dirt buildup.
By incorporating this cleaning task into your spring cleaning regimen, you can effectively address these accumulated elements, leaving your kitchen looking fresh and well-maintained. Not only does this enhance the overall cleanliness and aesthetics of your kitchen, but it also promotes a healthier environment for your family. Eliminating hidden grime and potential breeding grounds for bacteria helps create a more hygienic space for food preparation and daily activities.
Beyond the cosmetic benefits, cleaning behind your dishwasher can also contribute to the longevity of your kitchen appliances. Removing dirt, dust, and other debris can prevent them from affecting the dishwasher’s functionality, ensuring that it continues to operate efficiently and without unnecessary strain. This, in turn, may extend the appliance’s lifespan and save you from potential repair costs.
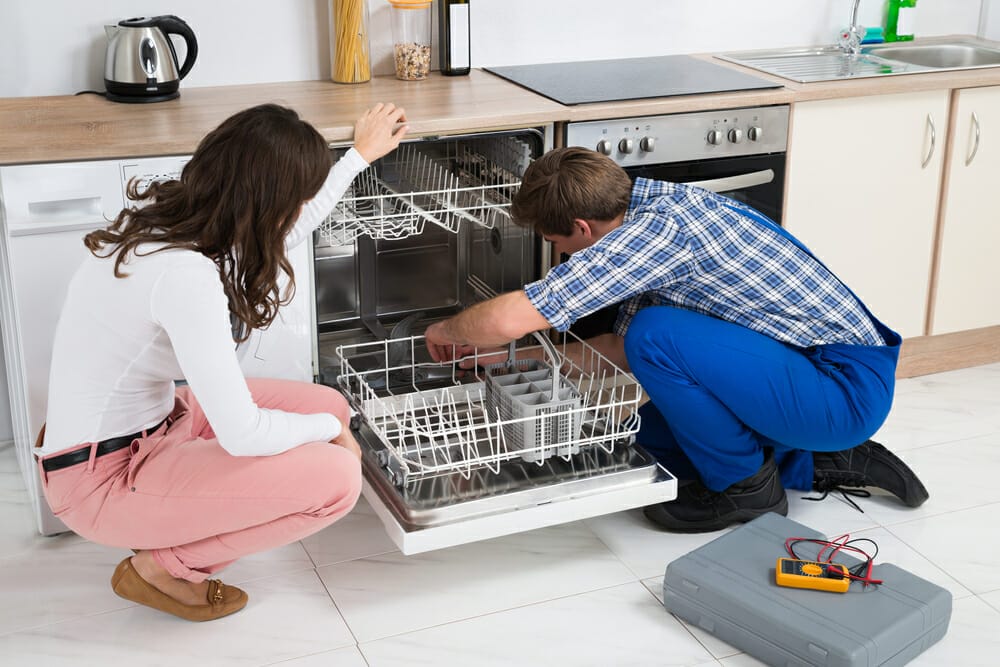
Frequency of Cleaning Behind Your Dishwasher
To maintain a clean and well-functioning kitchen, it is advisable to clean behind your dishwasher at least once a year. However, if your dishwasher sees frequent use, it is recommended to undertake this cleaning task twice a year to prevent the buildup of grime and debris.
The ideal time to incorporate this cleaning into your routine is during your deep cleaning sessions in the kitchen. When you are already engaged in thorough cleaning activities, it becomes convenient to address the often-overlooked area behind the dishwasher as well. By aligning this task with your comprehensive kitchen cleaning, you ensure that no corners of your kitchen space are neglected, leaving you with a truly immaculate environment.
Remember, regular cleaning behind your dishwasher not only promotes cleanliness but also contributes to the longevity and efficient operation of your dishwasher and other kitchen appliances. By adhering to this recommended frequency, you can enjoy a kitchen that not only looks pristine but also maintains a high level of hygiene for your family’s health and well-being.
When moving
When relocating your dishwasher to a new location, taking the time to clean behind it is of utmost importance.
Cleaning behind the dishwasher before reinstalling it in its new spot serves several crucial purposes. Firstly, it prevents the transfer of dirt, grime, and debris from the old location to the new one, ensuring a clean and fresh environment in your new kitchen setup.
Secondly, by thoroughly cleaning the space behind the dishwasher, you minimize the chances of potential pests, such as insects or rodents, being transported along with the appliance. This proactive measure helps create a pest-free and sanitary space in your new kitchen, promoting a healthier living environment for you and your family.
Moving provides a unique opportunity to address cleaning tasks that might not be feasible in everyday situations. By taking the time to clean behind the dishwasher during the moving process, you set a solid foundation for maintaining cleanliness and hygiene in your new kitchen, right from the start.
Remember, cleanliness is not only aesthetically pleasing but also contributes to the efficient operation and longevity of your dishwasher. A clean and well-maintained appliance performs optimally, reducing the risk of potential malfunctions or repair needs.

Promptly Clean Up After Spills
Whenever food or liquids spill behind your dishwasher, it is crucial to clean them up immediately.
By promptly addressing spills, you prevent the accumulation of moisture in this area, which could become a breeding ground for mold or mildew. These unwelcome guests thrive in damp environments and can quickly become a health hazard if left unattended.
Maintaining a habit of cleaning up spills as soon as they occur helps ensure a hygienic kitchen environment. It also contributes to the proper functioning and longevity of your dishwasher, as excessive moisture and mold growth can potentially lead to damage or malfunctions.
Incorporating this simple but vital practice into your daily routine ensures that your kitchen remains clean, fresh, and safe for you and your family. By staying vigilant and addressing spills promptly, you can prevent potential issues and maintain a clean and healthy living space in your home.
Why You Shouldn’t Overlook Cleaning Behind the Dishwasher?
- Prevents Pest Infestations: Regularly cleaning behind your dishwasher is essential in preventing the accumulation of food particles, grease, and moisture, which can create a breeding ground for pests like ants, cockroaches, and rodents. By keeping this area clean, you can avoid unwelcome visitors that can contaminate your food and spread diseases.
- Reduces Fire Hazards: Dust and debris can build up on the heating element or motor of your dishwasher, increasing the risk of fire hazards. Cleaning behind the dishwasher on a regular basis helps prevent the buildup of dust and debris, making your home a safer place.
- Improves Dishwasher Performance: Debris or dirt behind your dishwasher can negatively impact the appliance’s performance, causing it to work harder to clean your dishes. This can lead to higher energy bills and ultimately shorten the lifespan of your dishwasher. Regularly cleaning behind the dishwasher can prevent this issue and help your appliance function more efficiently.
- Prevents Water Damage: Leaks in your dishwasher’s water supply line can lead to water damage on the wall or flooring behind the appliance. By cleaning behind the dishwasher regularly, you can spot potential leaks early, preventing water damage and costly repairs.
- Maintains a Clean and Hygienic Kitchen: Cleaning behind your dishwasher helps prevent the growth of bacteria and mold. Food particles that get trapped behind the dishwasher can lead to unpleasant odors and create an unhygienic environment. Regular cleaning behind the dishwasher can help prevent these issues and keep your kitchen clean and fresh.
By understanding the importance of cleaning behind your dishwasher, you can maintain a healthier, safer, and more efficient kitchen environment, ensuring the longevity of your appliance and the well-being of your household.
FAQs
Q1: Why should I clean behind my dishwasher? A1: Over time, debris, dust, and even mold can accumulate behind your dishwasher. Cleaning this area helps maintain a hygienic kitchen environment and ensures optimal performance of your appliance.
Q2: How often should I clean behind my dishwasher? A2: Aim to clean behind your dishwasher at least once a year. However, if you notice any unusual odors or if your dishwasher isn’t functioning efficiently, it’s advisable to clean behind it more frequently.
Q3: Do I need any special tools to pull out the dishwasher? A3: Typically, a screwdriver, pliers, and a wrench are the basic tools you’ll need. However, the specific tools required may vary based on your dishwasher model. Refer to your dishwasher’s manual for guidance.
Q4: Can I clean behind the dishwasher without pulling it out? A4: While it’s possible to clean some parts without pulling out the dishwasher, a thorough cleaning requires accessing the entire space behind it. Pulling it out allows you to clean hidden areas and address any potential issues.
Q5: How do I disconnect the dishwasher from power before pulling it out? A5: First, turn off the dishwasher and unplug it from the electrical outlet. If it’s hardwired, locate the circuit breaker and turn off the power to the dishwasher. Ensure that there’s no risk of electric shock before proceeding.
Q6: Is it necessary to shut off the water supply before pulling out the dishwasher? A6: Yes, it’s crucial to turn off the water supply to the dishwasher before attempting to pull it out. Locate the shut-off valve under the sink or in the basement, and turn it clockwise to shut off the water.
Q7: How do I pull out the dishwasher without causing damage? A7: Gently pull the dishwasher away from the wall, ensuring not to strain or damage the water and electrical connections. If it feels stuck, double-check for any screws or brackets holding it in place and remove them accordingly.
Q8: What’s the best way to clean behind the dishwasher? A8: Use a vacuum cleaner or a brush to remove loose debris. Wipe surfaces with a damp cloth and a mild detergent. Inspect for any signs of mold or mildew and address them with an appropriate cleaner.
Q9: Can I clean the dishwasher’s coils and components while it’s pulled out? A9: Yes, cleaning the coils and components behind the dishwasher is recommended. Use a vacuum or a soft brush to remove dust and debris. Be cautious around electrical components and consult the manual for specific instructions.
Q10: Any tips for troubleshooting common issues while the dishwasher is pulled out? A10: Check for loose or damaged hoses, water leaks, and signs of rodent activity. Inspect the dishwasher’s connections and components. If you encounter any issues, refer to the manual or seek professional assistance.
Remember to always prioritize safety and follow your dishwasher’s specific guidelines outlined in the manual when attempting maintenance tasks. If you’re unsure or uncomfortable, it’s advisable to seek professional help.


